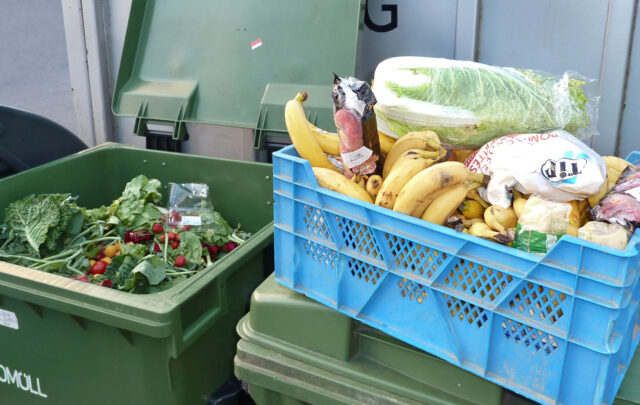
It was bean week. Tying up the climbers. Corralling the bush beans. Pulling the stupid Japanese beetles off of the drying beans. Harvesting the pod beans then processing that pile. I also decided to go back to making my own hummus.
I don’t know why I ever stopped. I vaguely remember it being difficult to find tahini, the sesame seed butter that gives hummus its distinctive nutty flavor. But that hasn’t been true for years no matter where I’ve lived. I think I just got out of the habit… and developed the rather bad habit of buying it ready-made… which is an investment in plastic tubs, far too many to reuse. They’re probably mostly landfill fodder in these days of limited recycling opportunities. So I had some mature chick peas, not enough to actually make a batch, but my co-op was also running a summer member sale on bulk foods, so I bought a bagful of dried garbanzos to augment the few handfuls I found ready in the garden. (There will be more to harvest later. Not sure why this one plant was so ahead of the others.)
The thing about hummus is that you don’t need to use any of the traditional ingredients. It is simply bean paste. Chick peas and tahini work together well, but you can use just about any meaty bean or pea in combination with some kind of oil or nut butter — to give the bean paste cohesion and a warmer flavor. I have made delicious hummus-like stuff from lima beans and almond butter, hazelnuts and cannellini, walnut butter and dried peas, and of course soy beans and peanut butter. Even when I use chick peas (which is my usual), I tend to play around with the idea. I really like using a combination of walnut oil and tahini. I don’t use the common lemon as much as I use ground sumac berries for tartness — because I learned to make hummus from a Jordanian cook, so my basic recipe is a bit more Turkish than Greek. I also like to put chile in the paste. Of course.
Now, I’ve never written this down because I don’t use measurements on this kind of thing. (I really only dig out the measuring utensils for baking which needs a bit more precision than is my usual.) So here is what happened this week. The dried beans needed to be rehydrated first, so I simmered about a cup for several hours. I rehydrate nearly all beans, peas, and lentils in salted water with a few bay leaves. I bring the beans to a low boil then immediately cut the heat to very low and let it soak in this warm bath until soft. Sometimes this can take more than one day. This is fine. Just put the pot in the fridge overnight and then repeat the heating process the next day.
When I had nearly soft beans, I tossed in the cup or so of garden beans to let them warm up and soften the seed cases a bit. When all were squishy and some of the seed cases were separating from the beans, I poured the beans into a colander in the sink and rinsed them all very well under cold water. This helps get rid of most of the phytochemicals in beans that we don’t digest well — that which gives beans their, um, reputation…
So at this point we have cooked beans. And this is where it gets loosey-goosey. Dump the cooked beans into a large bowl. Add up to a quarter cup of your nut butter. Today I used 3 heaping tablespoons of a locally made tahini.
Which I just have to comment on… Making nut butters is super simple. Except for acquiring the nuts. It’s almost always too expensive for me to buy enough sesame seeds to make a batch of tahini. Sometimes you find a good deal in the bulk foods section, but most butters take a quart or more of seeds to make a cup or so of butter. This is one thing that is definitely easier and cheaper to make at scale… which, of course, is not a household quantity… so it’s one of the few things that I advocate buying ready-made over making it yourself. Unless you grow your own nuts or seeds and want to turn them into butter, it’s just way too expensive for most budgets. So I was really happy to find someone local who makes tahini. (They also make maple hazelnut butter… which is just about an orgasm on a spoon… but I digress.)
Today I had a 16-oz jar of Hatch sun-ripened red chiles that I needed to use before its October expiration date. (Which is probably not a firm thing, but I follow it anyway.) So that went into this batch of hummus. I drizzled in maybe two tablespoons of walnut oil. Then, using an actual table spoon, I scooped ground spices into the batch. Two scoops each of garlic powder, cumin, and thyme. One scoop each of sumac berries and coriander. Then I sprinkled on probably almost a teaspoon of fenugreek, and then salt to taste.
Then comes the blending. This used to be the worst part of making hummus. But then the immersion hand blender appeared like a gift from the benevolent cooking gods. What used to be a royal mess, in which a large part of the paste was lost to the blender (or, on a bad day, to the countertop, walls and floor… ), is now a matter of putting the blender thing in and stirring it around a bit until everything is mixed well and the beans are pulverized. It takes minutes. You lose nothing. It’s extremely easy to clean up. I love my immersion blender!
Now, the right texture for hummus (or any bean paste) is entirely a matter of preference. I like a rather smooth hummus. The Jordanian that taught me to cook preferred to have a more toothy texture, not chunky, but definitely full of recognizable bean bits. Of course, this was pre-immersion blender days, and perhaps she just didn’t feel like fighting the old blender long enough to make it completely smooth. But still… if you like it with more texture, swell!

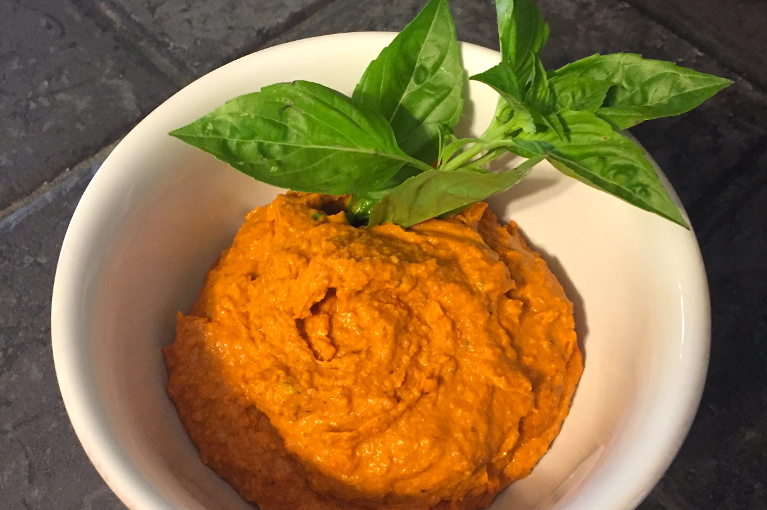
Hummus with a sprig of Italian basil
It is ready to eat at this point. Or freeze. I like to let it chill for a while, especially when I am using fresh garlic. But today, it was so good, I started wolfing it down on blue corn tortilla chips before I even got the dishes washed up. I was taught to serve hummus with a slice of cucumber, a wedge of tomato, a sprinkle of paprika, and a bit of olive oil in a well in the center of the paste. I rarely go that fancy. I do like to cut up the tomatoes and cucumbers, but I use these for dipping, not garnish. But more often than not, I use hummus as a sandwich filler. It is the equivalent of lunch meat in my diet.
This recipe made about 4 cups. If Son#1 and I don’t manage to eat that much within two weeks, I’ll freeze what remains. When I am doing this regularly, I make a batch every ten days or so. Sort of like making yogurt. (In fact, I did both today… ) This means there is always bean paste for sandwiches and wraps and eating as dip on just about anything. As beans are my main protein, I go through a lot of hummus! And it comes in particularly handy on those days when even warming a bowl of stew is too much effort. (Lots of those days right now since it’s back-to-school season at the bookstore and harvest season in the garden…)

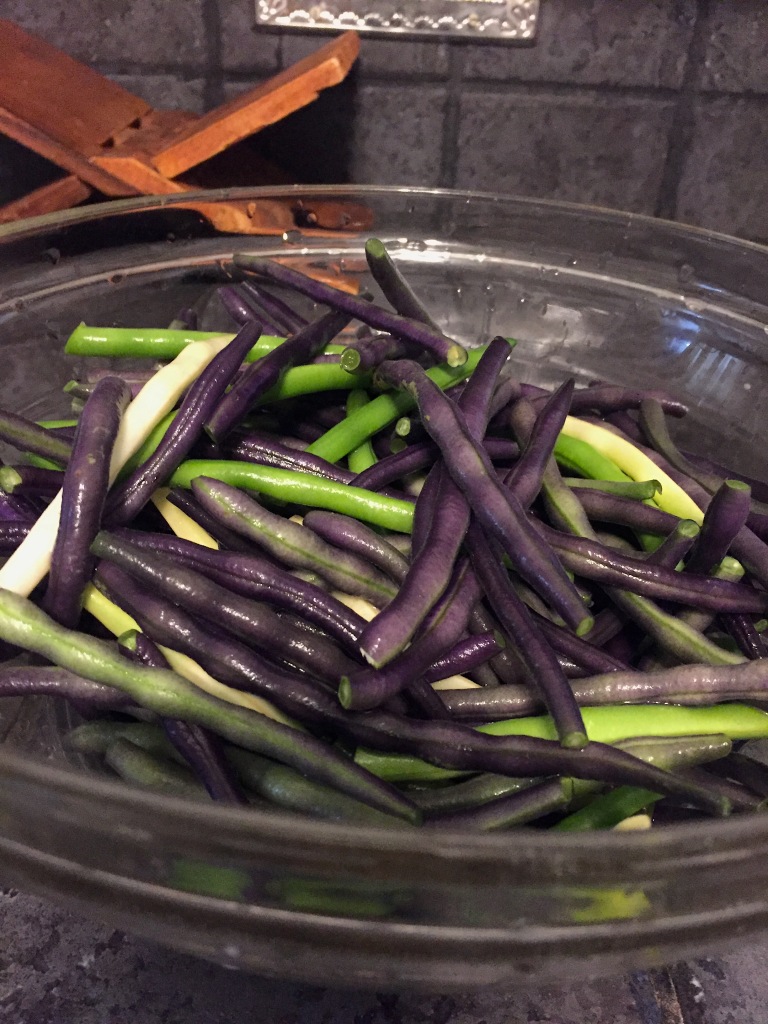
About a half bushel of beans
So that was one bean project. I also picked all the filet beans and romanos this week. This was not my intention, however… the local groundhog discovered the bush bean patch. She very carefully defoliated every last plant while assiduously avoiding all the interplanted chiles, eggplants, basil and melon vines. I’m not sure how she did this. She is anything but limber. In fact, she greatly resembles a fur-covered log of aspic at this point in the growing season. But she didn’t even break the heliotrope or nasturtiums I have planted in that bed. And they want to break, at any provocation. So whatever.
She also left all the beans. Which meant that it was really easy to see them and pick them. But it also was really necessary to pick them, now, before the plants started to dry out and die back. This meant I was inundated with beans. Even I can’t eat that many at once. So I froze all the filet beans for holiday meals. I got four quart bags out of the harvest, which is all I really need since I don’t have many uses for filet beans except as a side dish. (But a necessary one! With spiced pecans and garlic and a bit of balsamic vinegar. Must have that every Thanksgiving!)
Filet beans ready for freezing
I have not yet used up all the romanos. I don’t want to freeze them. I want to put them all in a stew with leeks, potatoes, goat cheese and green chile. Just haven’t got there yet because of the aforementioned seasonal time constraints. But the beans are washed and prepped in an overstuffed gallon bag in the fridge, just waiting to become dinner.
And that was bean week. All in all, there are worse ways to spend your days! I just hope Mama Groundhog stays on this side of the road… because on the other side is where all my drying bush bean plants are growing… and I sure don’t want her ruining the fine crop of black beans I’ve got ripening over there. To say nothing of the first successful round of chick peas I’ve ever grown. (In Vermont… go figure… ) But as she is well on her way to full hibernating weight, I doubt she’ll be moving around much more than a short waddle from her burrow under my neighbor’s porch into my front yard garden. Groundhogs rarely travel more than 100 feet from their holes even in the hungry spring time. So here’s to hoping she doesn’t discover what is going on across the road and decide to move house next year!

And this is happening in the meadow patch that used to be the perennial bed from hell